Switching from Google Analytics to Fathom
After fifteen years of unthinkingly installing Google Analytics on all of my projects I have started to question the ethics and the value of me capturing this data.
Putting the issue of privacy aside (Fast Company’s piece on privacy-focused analytics platforms is a good place to start) I recognise that this site receives such an insignificant amount of traffic that a tool like Google Analytics is overkill.
My requirements are simple: I want to know which pages are being viewed and where those visits came from. I don’t need funnel analysis, or demographic reports, or keyword conversion data.
In my research I came across two possible solutions: Matomo and Fathom Lite.
Whilst I may consider Matomo at some point in the future, at this point Fathom felt like the minimal viable analytics platform. Plus, it has a Digital Ocean offer Fathom as a pre-built droplet.
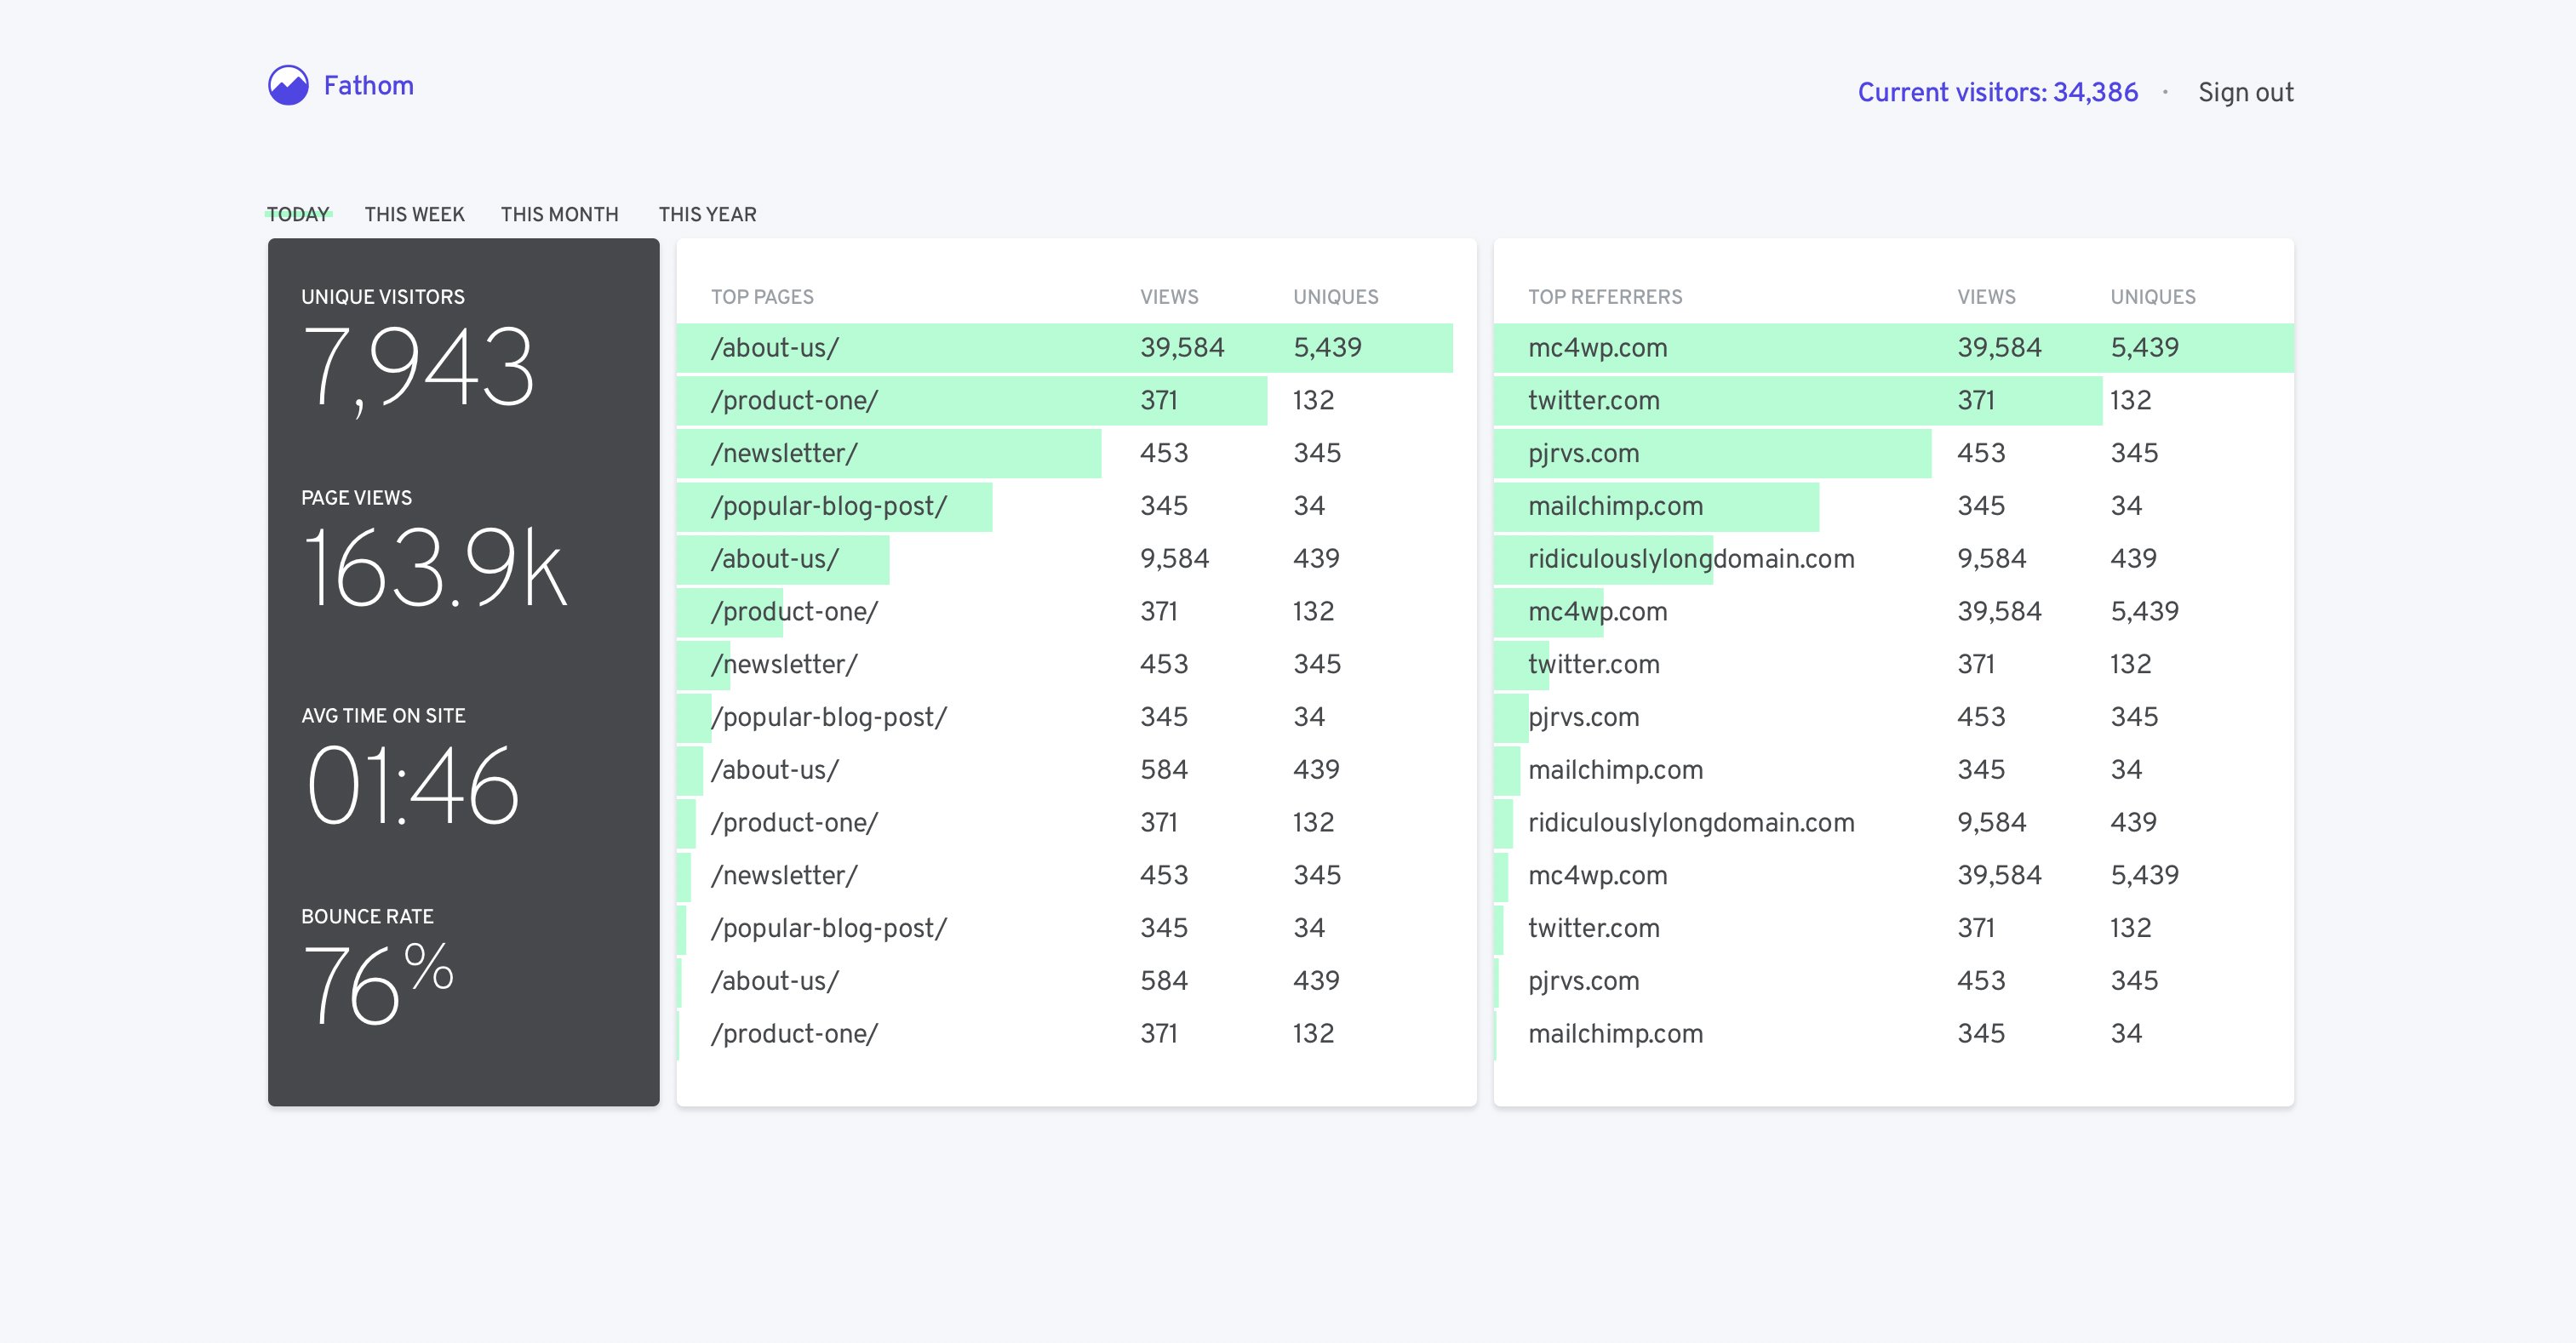
Installing Fathom on Digital Ocean
Using the custom Fathom droplet found in Digital Ocean’s marketplace the whole process took less than fifteen minutes to set up.
Some pre-requisites:
- A website (duh)
- A domain name or subdomain
- A Digital Ocean account (ideally with SSH keys configured)
- Some familiarity with the command line
1. Sign into you Digital Ocean and create a new droplet
From the left-hand menu select Marketplace and search for “fathom analytics”.

Click Create Fathom Analytics Droplet
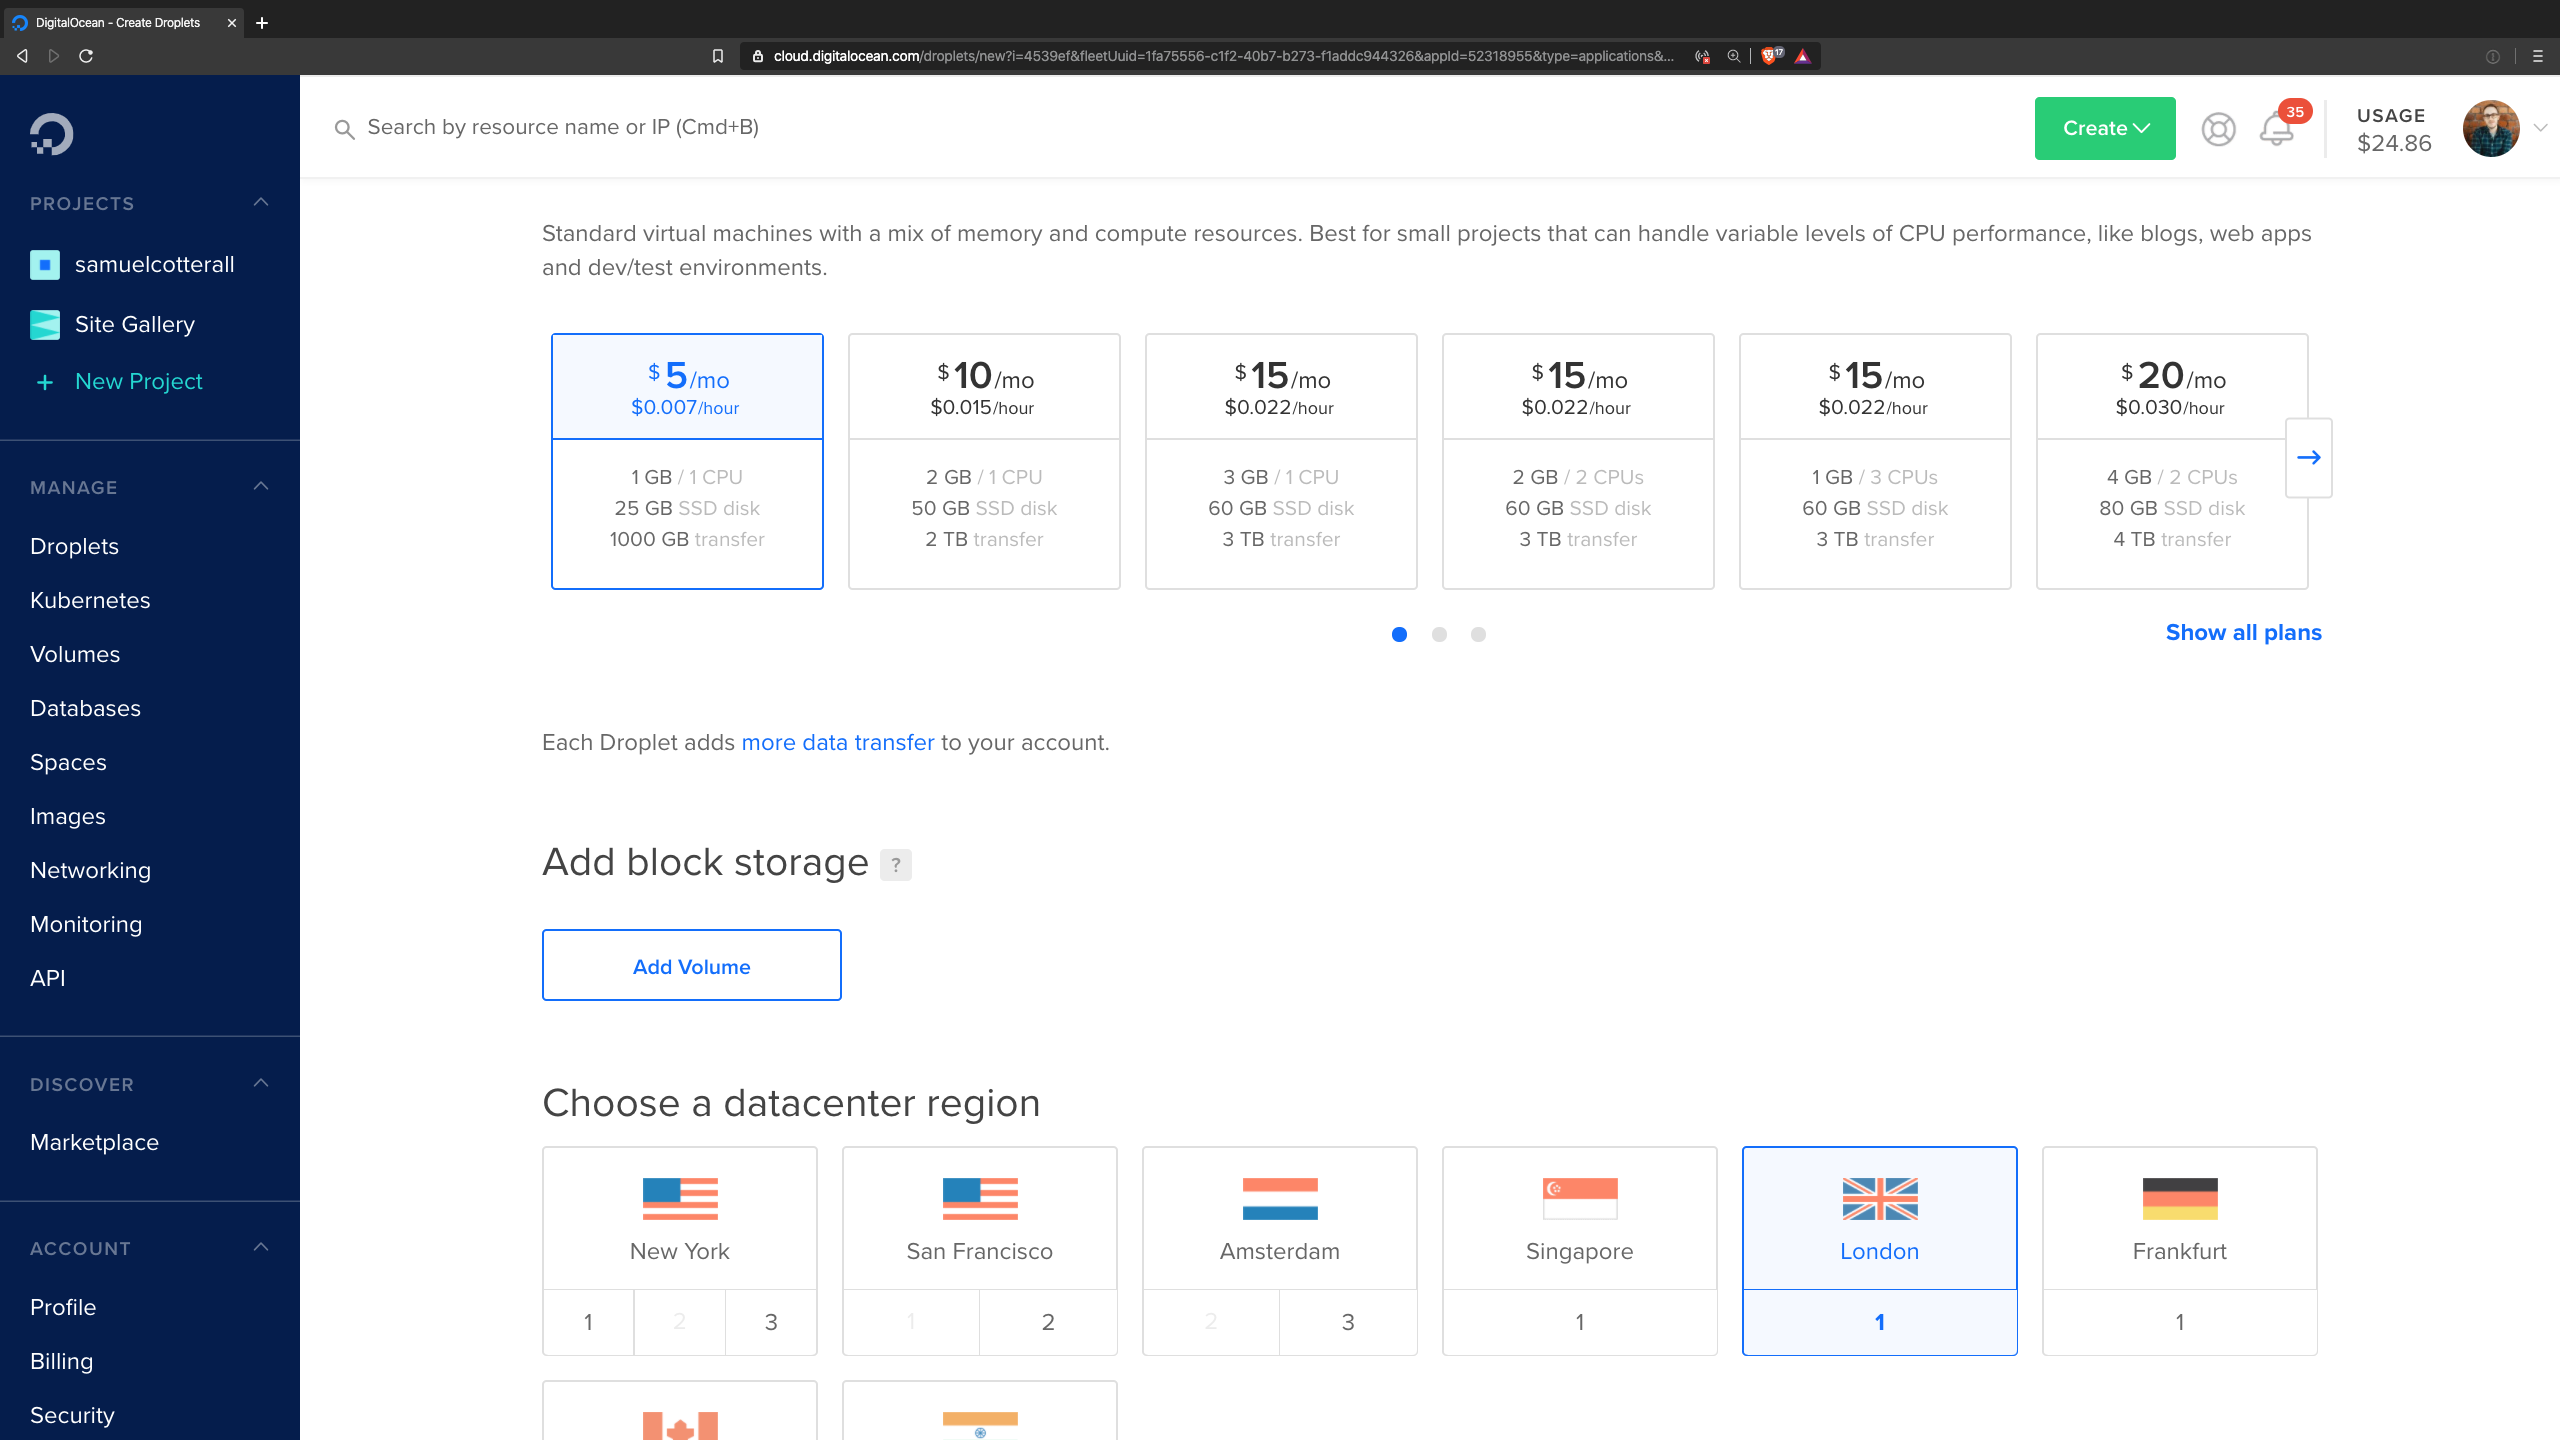
Here you will be presented with a setup screen. Pay attention to the following options:
Choose a plan Choose the standard, $5/m, one.
Choose a datacentre region Choose wherever is closest to your audience. I live in England so I chose London.
Authentication You can use a password, but I’d use SSH keys. Seriously. Digital Ocean have great documentation for this.
Choose a hostname It’s up to you, but I’d call mine fathom-server.
Add backups Optional, but recommended.
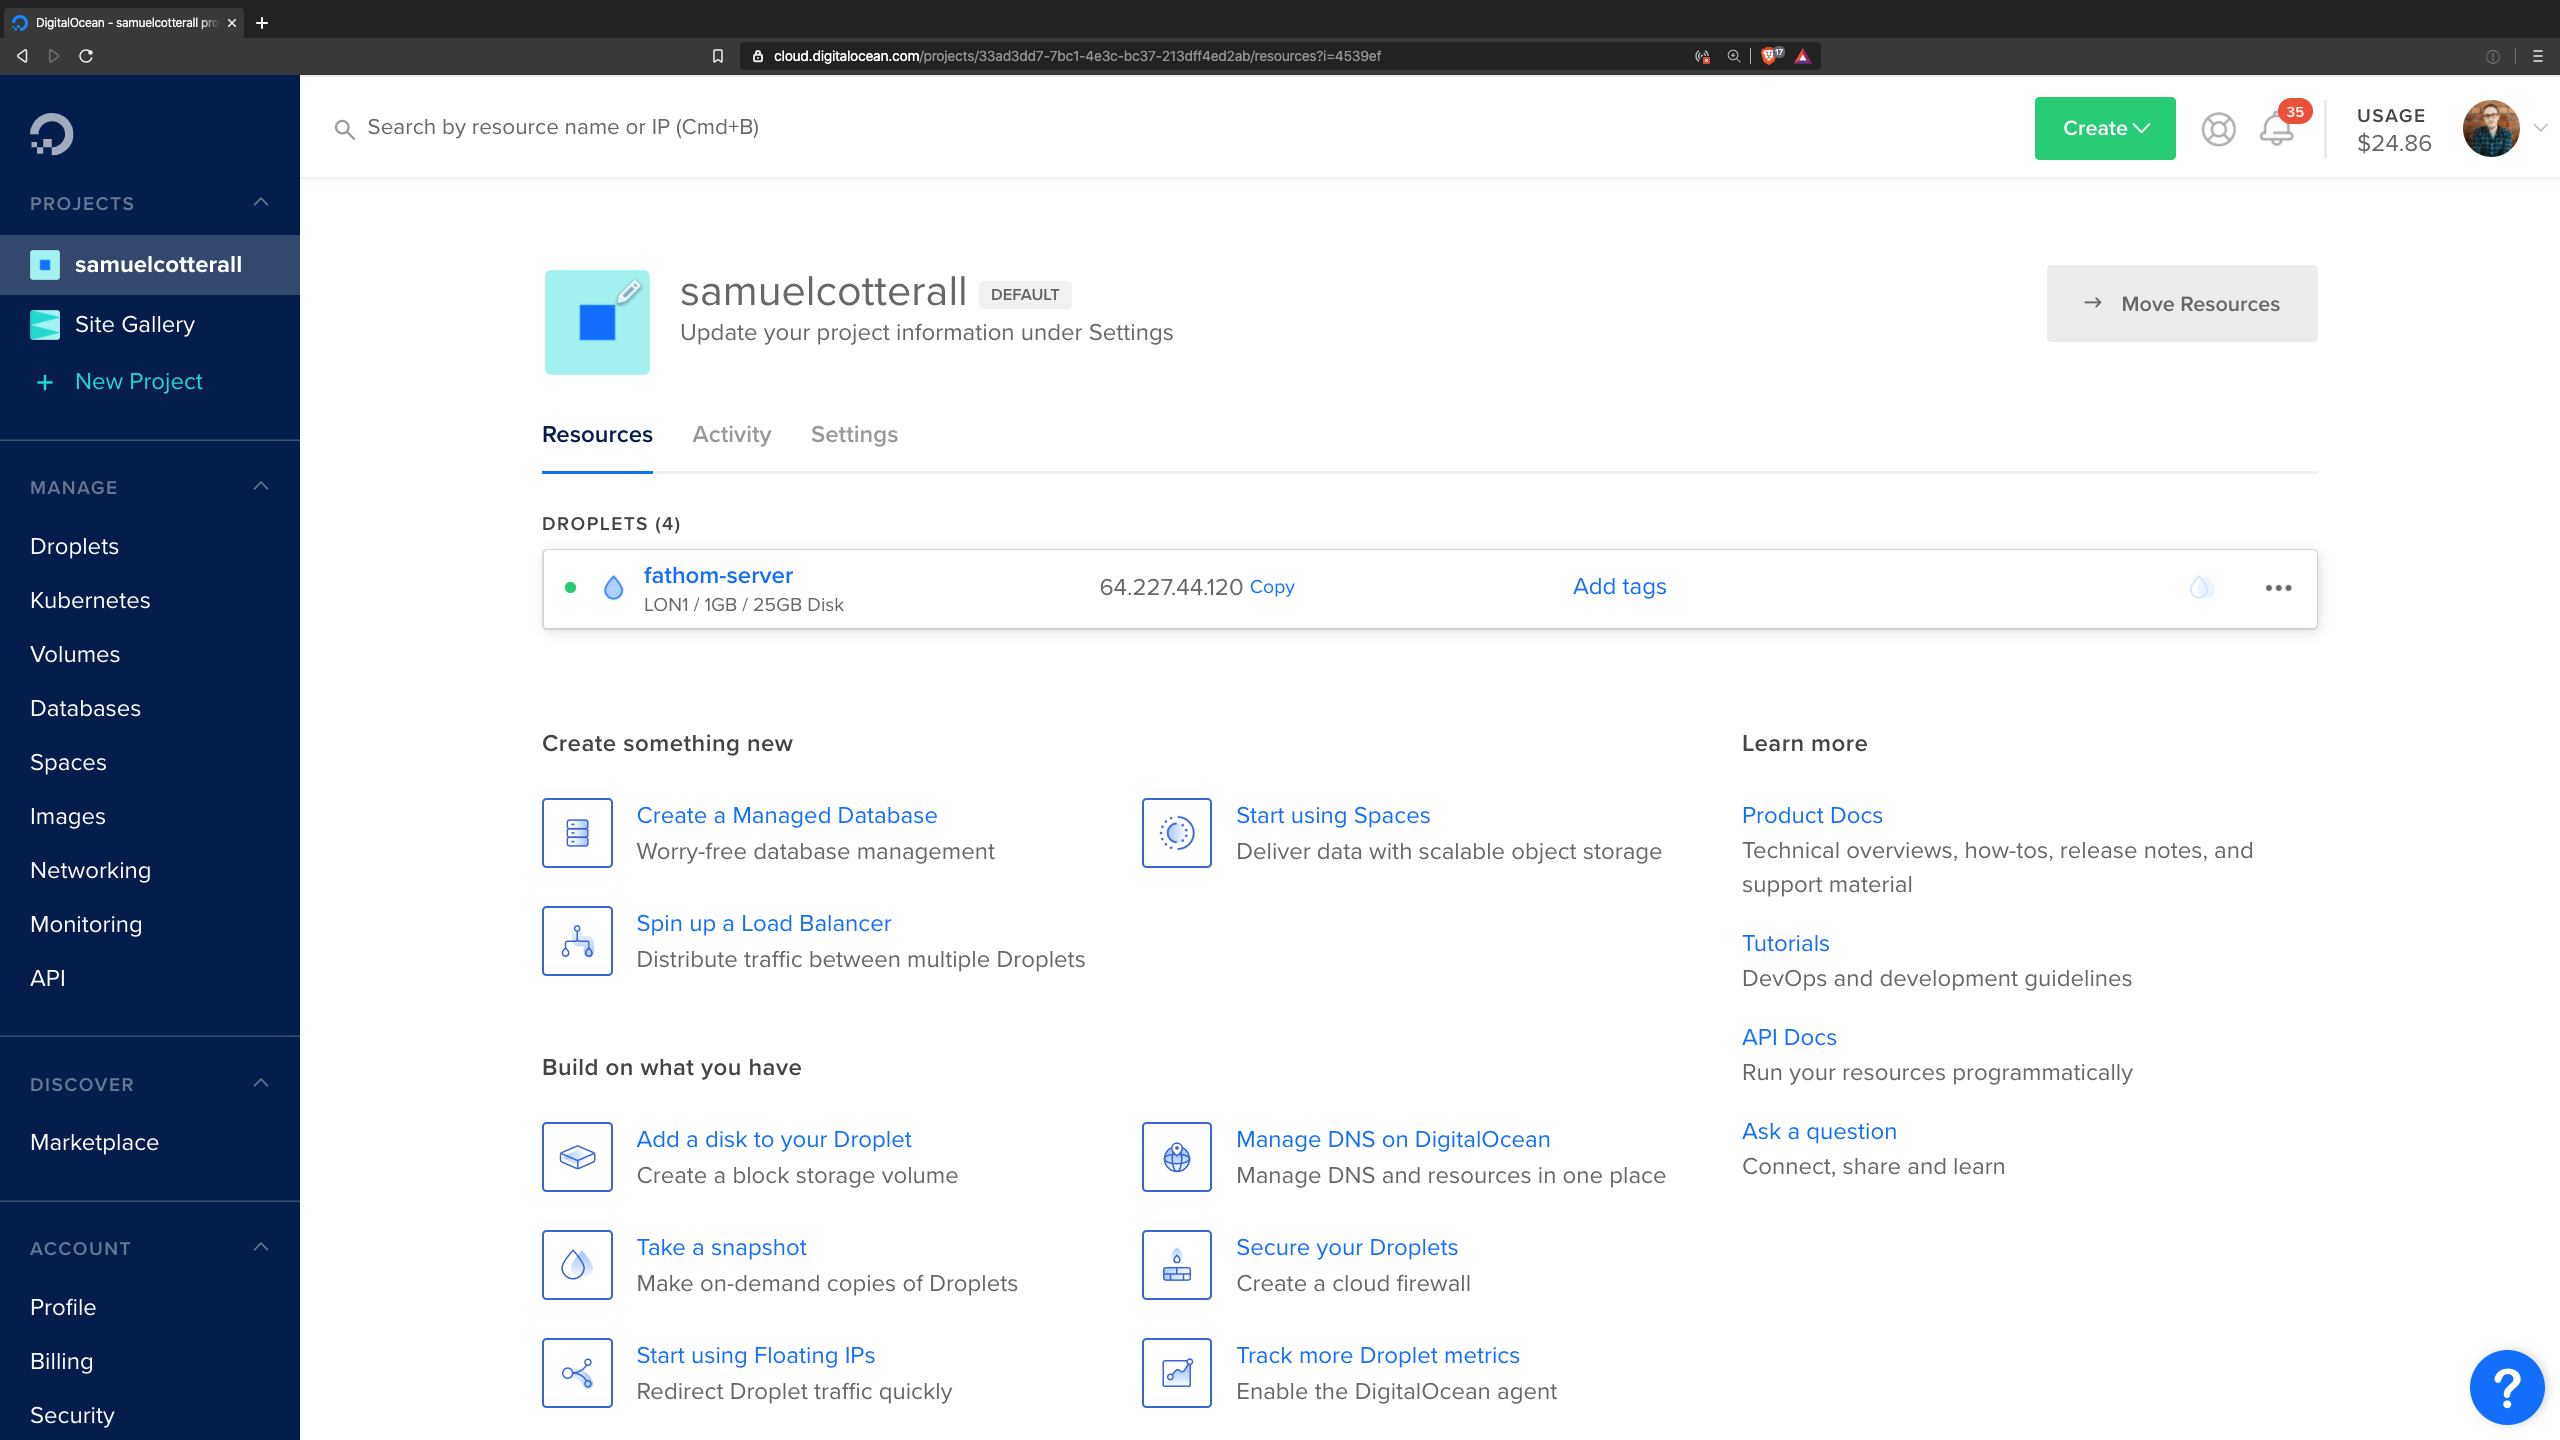
It’s going to take a few minutes to provision your server. Go to your Droplets page and you should see something like this:
3. Log into your new droplet
Open a terminal and SSH into your server
$ ssh root@xxx.xxx.xxx.xxx
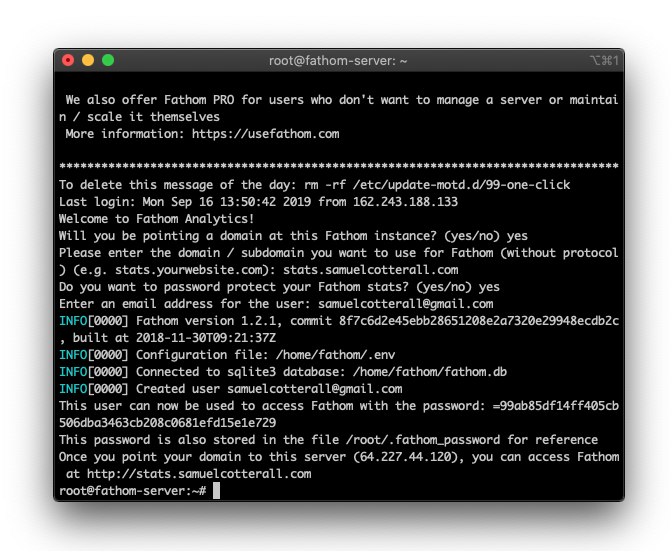
The Fathom setup process is going to begin automatically. It will ask you for a domain name, whether you want to password protect your stats (yes, almost certainly) and, if so, which email address to use.
It’s going to look something like this:
4. Add a domain name
At this point you’ll need to log into your domain registrar and create a A Record to point to your new Fathom server.
All domain registrars are different so search for it.
5. Use Certbot to enable SSL (optional, but recommended)
You’ll want to enable SSL (and ensure your site is served over HTTPS). Thankfully this is made super easy using the Certbot command.
Note: before you start you will need to know the name of your Fathom site. This will be the same as the domain name you specified earlier, but if you’re not sure you can list Nginx’s current sites by listing all of the contents of your sites-enabled directory. It should look something like this:
$ ls /etc/nginx/sites-enabled/
default  stats.example.com
To install the certificate go back to your SSH session and run the following commands (substituting stats.example.com for your domain name, obviously):
$ certbot --nginx -d stats.example.com
$ service nginx reload
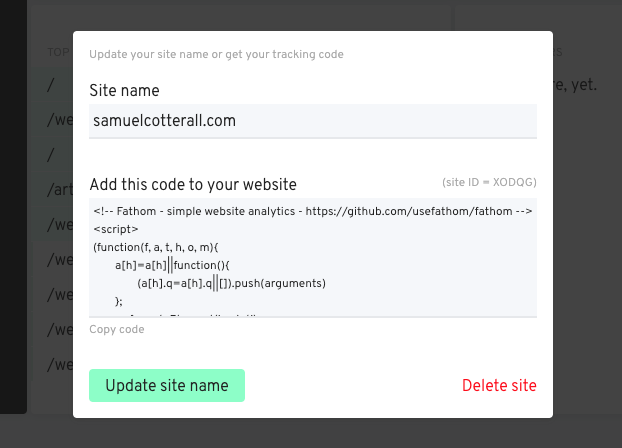
6. Add your tracking code to your website
Fire up a browser and log into your Fathom account using the domain name you set up.
Click the ⚙ icon at the top-right of Fathom’s dashboard and past the snippet of code into your website.
And you’re done.
